YAMAHA RK-MGX16
PRICE ON ENQUIRY
Yamaha RK-MGX16 rack mount kit: a pair of brackets and six screws to install the MGX16 or MGX16V digital mixer in an EIA standard rack. Available in India from Shivansh Electronics, Kolkata, West Bengal, India.
VISUAL GUIDE — See Every Photo, Spec & Setup Step (PDF)
PRICE ON ENQUIRY. For the price, exclusive offers, delivery timelines, or any other information, please Contact / WhatsApp +91 89818 07755 / +91 91477 00677. We will gladly share a personalised quotation for Shivansh Electronics, Kolkata, West Bengal, India. All payments are processed securely through Razorpay, our trusted payment gateway.
Specifications
| Type | Rack mount kit |
| For | MGX16, MGX16V digital mixing consoles |
| Mounting | EIA standard rack |
| Contents | Rack mounting brackets (pair), six screws |
| Fixing | Brackets secured to the console with the six included screws |
Installation (MGX user guide)
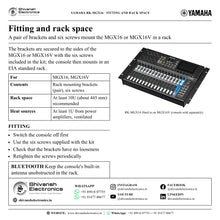
| Rack space | At least 10U (about 445 mm) recommended, to connect the cables |
| Next to heat sources | At least 1U from power amplifiers or similar equipment, ventilated by a ventilation panel or open space |
| Console operating temperature | 0–40 °C |
Product overview
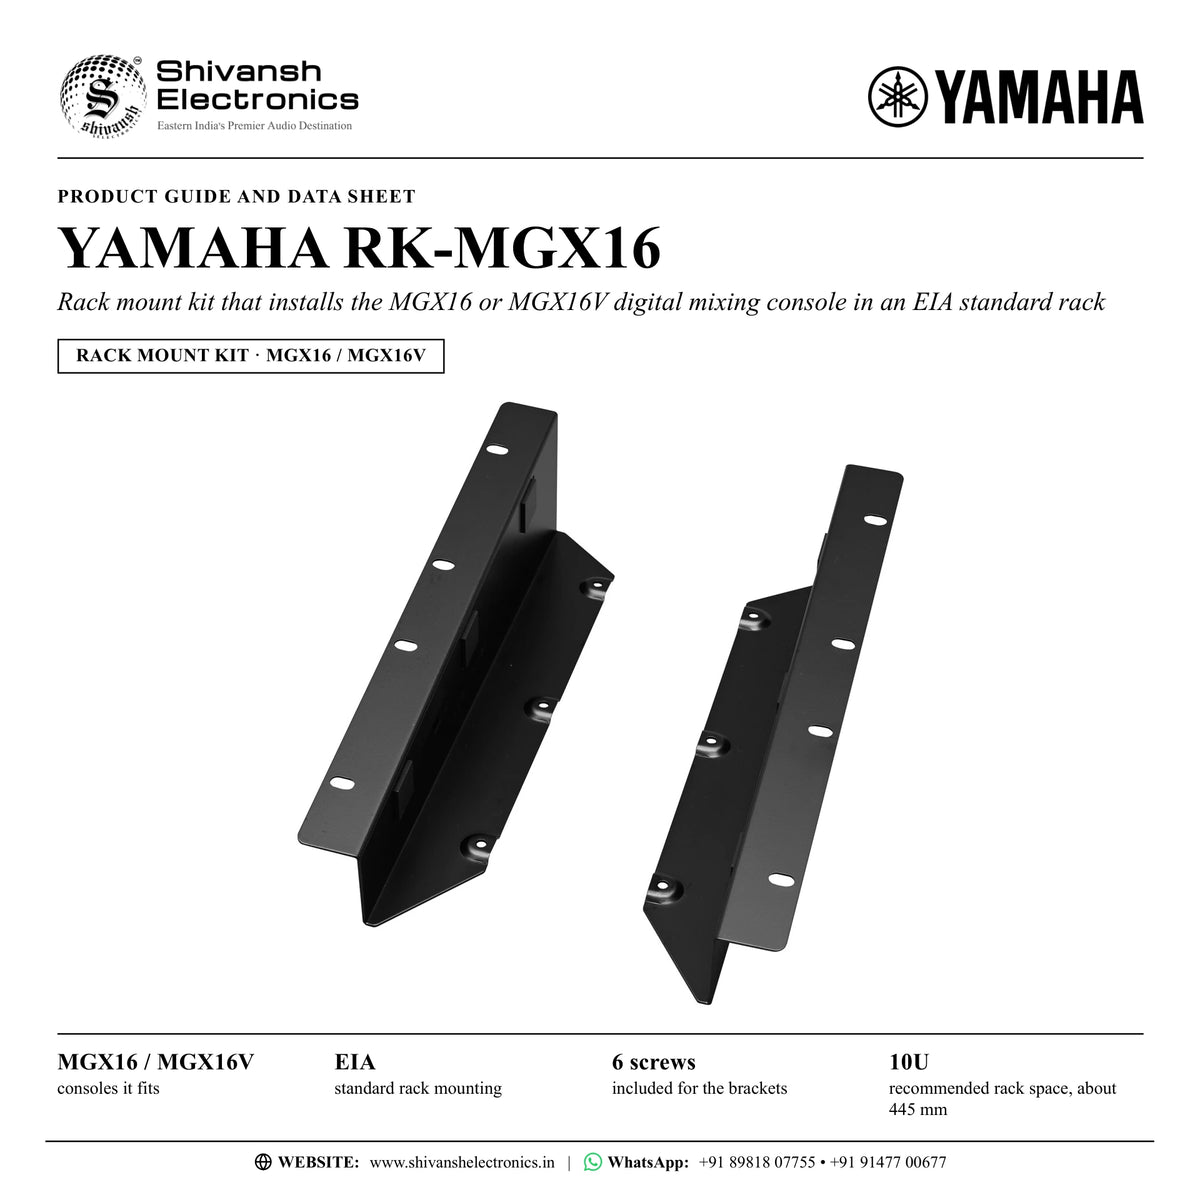
The Yamaha RK-MGX16 is the rack mount kit for the MGX16 and MGX16V digital mixing consoles, for installing either console in an EIA standard rack.
The kit consists of a pair of rack mounting brackets that are secured to the sides of the console with the six screws included in the kit. Fitted with the brackets, the MGX16 or MGX16V mounts in an EIA standard rack, ready for installed systems where the console lives in an equipment rack rather than on a desk.
Switch the console off before fitting the brackets, use the screws supplied with the kit and check that the brackets have no looseness; retighten the screws periodically. The MGX user guide recommends at least 10U of rack space (10U is about 445 mm) so that there is room to connect the cables.
The console is designed to operate at 0–40 °C. In a rack shared with power amplifiers or other equipment that generates heat, leave at least 1U between the console and that equipment and keep the space ventilated with a ventilation panel or by leaving it open. The console's cooling fan exhausts through its rear panel, so keep the rear ventilation ports clear.
| consoles it fits | MGX16 / MGX16V |
| standard rack mounting | EIA |
| included for the brackets | 6 screws |
| recommended rack space, about 445 mm | 10U |
Key features
- Rack mount kit for the MGX16 and MGX16V
- Pair of rack mounting brackets secured to the console sides
- Six screws included for fixing the brackets
- Installs the console in an EIA standard rack
- At least 10U of rack space recommended, leaving room for the cables
Made for
- Installing an MGX16 or MGX16V in an equipment rack
- Installed sound systems with the console in a rack
In the box
- Rack mounting brackets (pair)
- Six screws
Yamaha RK-MGX16: frequently asked questions
Which consoles does the RK-MGX16 fit?
The MGX16 and the MGX16V. For the MGX12 and MGX12V, the matching kit is the RK-MGX12.
How much rack space do I need?
The MGX user guide recommends at least 10U (about 445 mm) of rack space so there is room to connect the cables. Next to power amplifiers or other equipment that generates heat, leave at least 1U and ventilate the space.
How is the kit fitted?
Switch the console off, secure the rack mounting brackets to the console with the six screws included with the kit, make sure there is no looseness, then install the console in the rack. Retighten the screws periodically.
Where can I buy the Yamaha RK-MGX16 in India?
The Yamaha RK-MGX16 is available from Shivansh Electronics, Kolkata, West Bengal, India, with delivery across India.
Workflow 1: Installing the console in a rack
Installers and venues fitting an MGX16 or MGX16V into an equipment rack.
Connections
| Connect | To |
|---|---|
| Rack mounting brackets | Sides of the MGX16 or MGX16V (six screws) |
| MGX16 or MGX16V with brackets | EIA standard rack |
Setup
- Switch the console off before fitting the kit.
- Secure the brackets to the console with the six screws included with the kit and check that nothing is loose.
- Install the console in the rack, leaving at least 10U of space so the cables can be connected.
- Retighten the screws periodically.
Tip: Keep the console's built-in Bluetooth antenna unobstructed in the rack so Bluetooth audio stays available.
Workflow 2: Rack shared with power amplifiers
Installed systems where the console shares a rack with equipment that generates heat.
Connections
| Connect | To |
|---|---|
| MGX16 or MGX16V on the RK-MGX16 brackets | Equipment rack |
| 1U space or ventilation panel | Between the console and the power amplifiers |
Setup
- Mount the console with the RK-MGX16 brackets.
- Leave at least 1U between the console and power amplifiers or other equipment that generates heat.
- Fit a ventilation panel in that space or leave it open.
- Keep the temperature in the rack within the console's 0–40 °C operating range.
Tip: The console's cooling fan blows air out through the rear panel: keep the rear ventilation ports clear.