SONODYNE HS120P
PRICE ON ENQUIRY
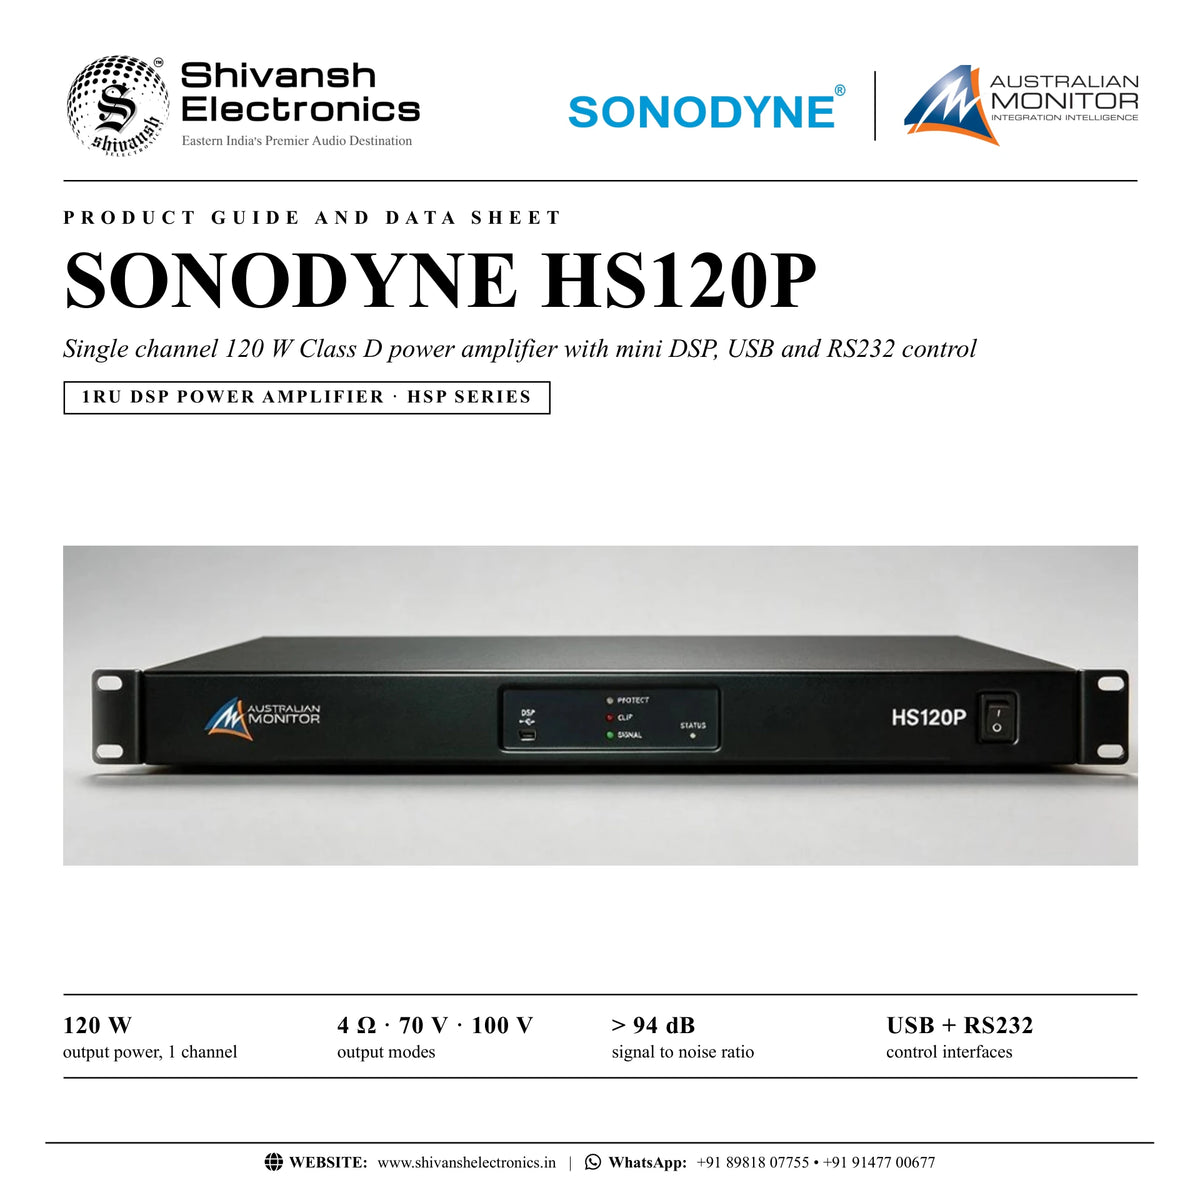
SONODYNE HS120P: 1 x 120 W Class D DSP power amplifier, 4 Ω / 70 V / 100 V outputs, USB and RS232 control, 1RU. Available in India from Shivansh Electronics, Kolkata, West Bengal, India.
VISUAL GUIDE — See Every Photo, Spec & Setup Step (PDF)
PRICE ON ENQUIRY. For the price, exclusive offers, delivery timelines, or any other information, please DM us or call +91 89818 07755 / +91 91477 00677. We will gladly share a personalised quotation for Shivansh Electronics, Kolkata, West Bengal, India. All payments are processed securely through Razorpay, our trusted payment gateway partner.
Amplifier
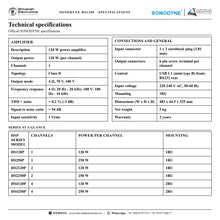
| Description | 120 W power amplifier |
| Output power | 120 W (per channel) |
| Channels | 1 |
| Topology | Class D |
| Output mode | 4 Ω, 70 V, 100 V |
| Frequency response | 4 Ω: 20 Hz - 20 kHz; 100 V: 100 Hz - 16 kHz |
| THD + noise | Below 0.2 % (-3 dB) |
| Signal to noise ratio | Above 94 dB |
| Input sensitivity | 1 Vrms |
Connections and control
| Input connector | 1 x 3 euroblock plug (3.81 mm) |
| Output connectors | 6 pin screw terminal per channel |
| Control | Front: USB 1.1 (mini type B); rear: RS232 (1 x 3 euroblock plug, 3.81 mm) |
| Contacts | Mute control, standby control, fault status |
| DSP | Volume, input / output routing, high and low shelf filtering, compressor / limiter, pink noise / sine wave generator, mutes, inversion |
General
| Input voltage | 220‑240 V AC, 50‑60 Hz |
| Mounting | 1RU |
| Dimensions (W x H x D) | 483 x 44.5 x 325 mm |
| Net weight | 5 kg |
| Warranty | 2 years |
Product overview
The SONODYNE HS120P is a single channel 120 W Class D power amplifier with a mini DSP, USB and RS232 control, from the HSP Series of AUSTRALIAN MONITOR controllable power amplifiers.
The HSP Series is AUSTRALIAN MONITOR's next generation of controllable Class D power amplifiers, offered in single, dual and quad channel versions of 120 W or 250 W. The HS120P delivers one 120 W channel into 4 Ω, 70 V or 100 V loudspeaker lines from a 1RU chassis. It is fully featured: an efficient Class D amplifier, USB and RS232 control, and a mini DSP with volume control, mute, compressor / limiter, filtering and input channel selection, all programmable from a PC user interface. The series gives the AV contractor a reliable amplifier for high quality commercial sound reinforcement and control.
| Output power, 1 channel | 120 W |
| Output modes | 4 Ω · 70 V · 100 V |
| Signal to noise ratio | > 94 dB |
| Rack mounting | 1RU |
Key features
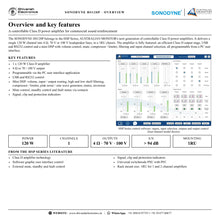
- 1 x 120 W Class D amplifier
- 4 Ω or 70 / 100 V output on a 6 pin screw terminal
- Programmable via the PC user interface application
- USB and RS232 control: USB 1.1 (mini type B) on the front, RS232 on a 3 pin euroblock at the rear
- Mini DSP: volume controls, input / output routing, high and low shelf filtering, compressor / limiter, pink noise / sine wave generator, mutes, inversion
- Mute control, standby control and fault status via contacts
- Signal, clip and protection indicators
- 1RU rack chassis, 5 kg
Mini DSP on board
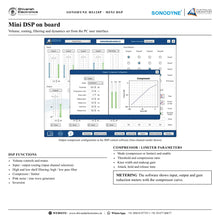
The mini DSP is set from the HSP control software: input and output levels with metering, input channel selection, filters, a compressor / limiter with mode, threshold, compression ratio, knee width, makeup gain, attack, hold and release time, signal inversion and a pink noise or sine wave generator for testing.
Control and system integration
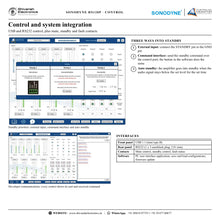
The amplifier is set up over USB from a PC and can be controlled over RS232. Contacts at the rear give external mute control, standby control and a fault status output. The software shows three standby priorities: an external input (connect the STANDBY pin to GND), a command over the control interface, and an auto standby that places the amplifier in standby after the audio signal stays below a set level for a set period. A developer window shows the command sent and received for every control.
Front and rear panel
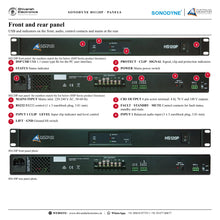
The front carries the DSP USB port, PROTECT, CLIP and SIGNAL indicators, a STATUS indicator and the mains switch. At the rear are the mains inlet, the CH1 OUTPUT screw terminal with 4 Ω, 70 V and 100 V connections, the RS232 port, the FAULT / STANDBY / MUTE contacts, the input clip indicator and level control, the balanced euroblock input and a ground lift switch.
In the box
- HS120P power amplifier
SONODYNE HS120P: frequently asked questions
Which loudspeakers can the HS120P drive?
It drives 4 Ω loudspeakers or 70 V and 100 V loudspeaker lines from its single 120 W channel, all on the 6 pin screw terminal.
How is the HS120P configured?
Through the PC user interface application over the front USB 1.1 port (mini type B). It can also be controlled over RS232 at the rear.
What does the mini DSP include?
Volume controls, input / output routing, high and low shelf filtering, compressor / limiter, pink noise / sine wave generator, mutes and inversion.
Can it be put into standby by an external system?
Yes. Connect the STANDBY pin to GND, send the standby command over the control interface, or enable auto standby on low signal level.
Where can I buy the SONODYNE HS120P in India?
The SONODYNE HS120P is available from Shivansh Electronics, Kolkata, West Bengal, India, with delivery across India.
Workflow 1: 100 V distributed loudspeaker line
Installers driving a line of 100 V loudspeakers from one amplifier channel.
Connections
| Connect | To |
|---|---|
| Mixer or source output | INPUT 1 (3 pin euroblock) |
| CH1 OUTPUT 100 V terminal | 100 V loudspeaker line |
Setup
- Rack the HS120P (1RU).
- Wire the source to the INPUT 1 euroblock.
- Wire the loudspeaker line to the 100 V connection of the CH1 OUTPUT terminal.
- Set the level in the PC user interface.
Tip: The 100 V output covers 100 Hz - 16 kHz.
Workflow 2: 70 V loudspeaker line
Systems built on 70 V distributed loudspeakers.
Connections
| Connect | To |
|---|---|
| Source output | INPUT 1 |
| CH1 OUTPUT 70 V terminal | 70 V loudspeaker line |
Setup
- Connect the source to INPUT 1.
- Wire the 70 V line to the CH1 OUTPUT terminal.
- Set volume and filters from the software.
Tip: One amplifier model serves 4 Ω, 70 V and 100 V systems.
Workflow 3: Low impedance loudspeakers
Installations with 4 Ω loudspeakers.
Connections
| Connect | To |
|---|---|
| Source output | INPUT 1 |
| CH1 OUTPUT 4 Ω terminal | 4 Ω loudspeaker |
Setup
- Connect the loudspeaker to the 4 Ω connection.
- Use the shelf filters and the compressor / limiter in the mini DSP to protect and tune the system.
Tip: Frequency response into 4 Ω is 20 Hz - 20 kHz.
Workflow 4: Set-up from a PC
Contractors commissioning the amplifier on site.
Connections
| Connect | To |
|---|---|
| PC USB port | DSP USB (mini type B) on the front |
Setup
- Connect a PC to the front USB port.
- Open the PC user interface application.
- Set levels, routing, filters and the compressor / limiter.
- Save the configuration.
Tip: The pink noise / sine wave generator helps when testing the loudspeaker line.
Workflow 5: RS232 control
Systems controlled by an external controller.
Connections
| Connect | To |
|---|---|
| Controller RS232 port | RS232 euroblock (RXD, TXD, GND) at the rear |
Setup
- Wire the controller to the RS232 euroblock.
- Use the developer window of the software to see the command for every control.
- Send the same commands from the controller.
Tip: Standby can also be commanded over the control interface.
Workflow 6: External mute and standby
Installations where another system mutes the amplifier or puts it in standby.
Connections
| Connect | To |
|---|---|
| External contact | MUTE / STANDBY contacts |
| FAULT contact | Monitoring input |
Setup
- Wire the external contacts to the MUTE and STANDBY pins.
- Enable external mute in the software.
- Connect the FAULT contact to the monitoring system.
Tip: Auto standby can place the amplifier in standby when the signal stays below a set level.