


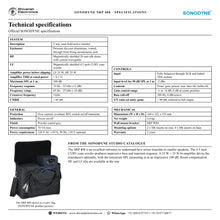

SONODYNE SRP 400
MRP - Rs. 42,500
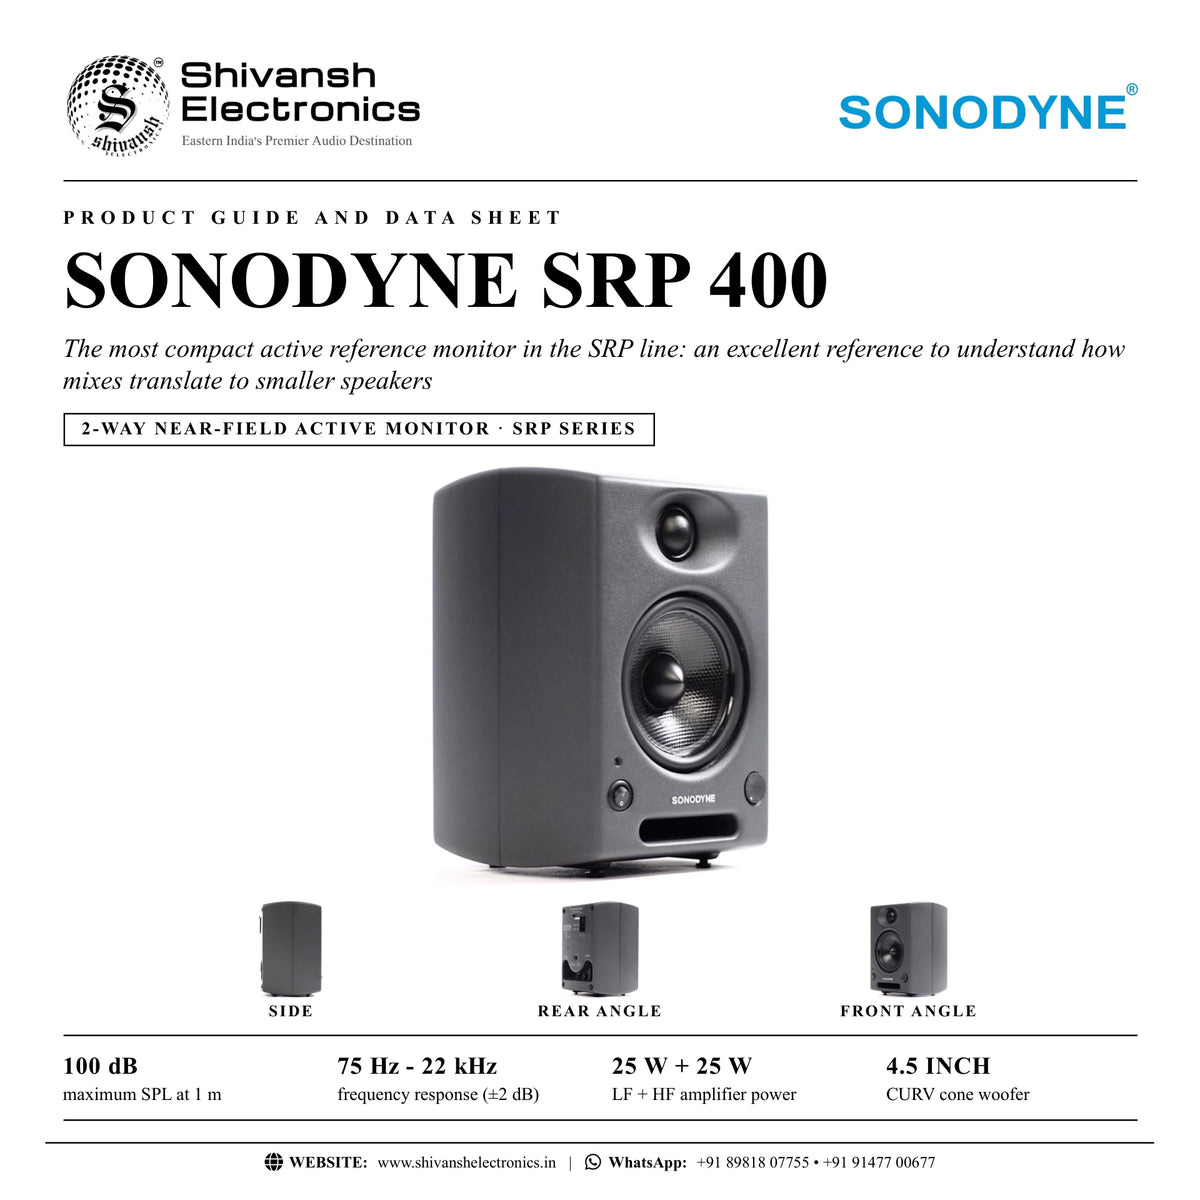
SONODYNE SRP 400 compact active reference monitor: 4.5 inch CURV cone woofer, aluminium die-cast enclosure, 100 dB max SPL. Available in India from Shivansh Electronics, Kolkata, West Bengal, India.
VISUAL GUIDE — See Every Photo, Spec & Setup Step (PDF)
The price shown is the MAXIMUM RETAIL PRICE (MRP), inclusive of all taxes. For the best price, exclusive offers and discounted rates, delivery timelines, or any other information, please DM us or call +91 89818 07755 / +91 91477 00677. We will gladly share an exclusive coupon code that you can apply at checkout. All payments are processed securely through Razorpay, our trusted payment gateway partner.
System
| Description | 2 way near‑field active monitor |
| Enclosure | Pressure die‑cast aluminium, vented, through front‑firing aerodynamic port |
| HF transducer | Magnetically shielded 26 mm silk dome with custom waveguide |
| LF transducer | Magnetically shielded 4.5 inch CURV cone woofer |
| Amplifier power before clipping | LF 25 W; HF 25 W |
| Amplifier THD at rated power | Below 0.1 % |
| Maximum SPL at 1 m | 100 dB |
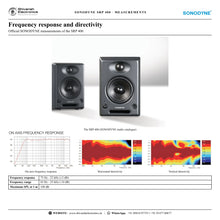
| Frequency response | 75 Hz - 22 kHz (±2 dB) |
| Frequency range | 65 Hz - 25 kHz (-10 dB) |
| Crossover frequency | 3 kHz |
| CMRR | Above 65 dB |
Controls
| Input | Fully balanced through XLR and linked TRS sockets |
| Input level for 90 dB SPL at 1 m | -2 dBu |
| Controls | Front: gain, power; rear: bass tilt, treble tilt |
| Gain control range | -∞ to +6 dB, 0 dB at centre position |
| Bass roll‑off | 100 Hz, 6 dB/octave |
| S/N ratio (at unity gain) | Above 90 dB, referred to full output |
General
| Protection | Over current, overheat, RFI, switch on/off transients |
| Indicators | Power on/off |
| Finish | Powder coated grey |
| Power consumption | 70 VA max. |
| Power requirement | 230 V AC ±10 %, 50 Hz; 120 V optional |
| Dimensions (W x H x D) | 160 x 232 x 155 mm |
| Net weight | 4.4 kg |
| Wall mount bracket | SRP WB1 |
| Mounting options | 2 x M6 inserts on rear; 4 x M6 inserts on base |
| Warranty | 2 years |
Product overview
The SONODYNE SRP 400 is the most compact active reference monitor in the SRP line: a 4.5 inch CURV cone woofer and a 26 mm silk dome tweeter in a custom waveguide, housed in a pressure die-cast aluminium enclosure.
The SRP 400 is an excellent reference to understand how mixes translate to smaller speakers. A 25 W + 25 W bi-amplifier drives the transducers optimally, for a maximum SPL of 100 dB and a frequency response of 75 Hz - 22 kHz (±2 dB). Room compensation HF and LF tilts are available at the rear, the front level control ranges from mute to +6 dB with a centre detent at 0 dB, and the fully balanced XLR input comes with a linked TRS socket.
| Maximum SPL at 1 m | 100 dB |
| Frequency response (±2 dB) | 75 Hz - 22 kHz |
| LF + HF amplifier power | 25 W + 25 W |
| CURV cone woofer | 4.5 inch |
Key features
- Pressure die-cast aluminium enclosure, vented through a front-firing aerodynamic port
- 4.5 inch CURV cone woofer, magnetically shielded
- 26 mm silk dome tweeter, magnetically shielded, in a custom waveguide
- Bi-amplifier: LF 25 W, HF 25 W before clipping; THD below 0.1 % at rated power
- Room compensation: bass roll-off 100 Hz, bass tilt and treble tilt switches at the rear
- Front level control from mute to +6 dB with centre detent at 0 dB
- Fully balanced XLR input with linked TRS socket; tapped inserts at the rear and bottom for mounting
Rigid aluminium die-cast enclosure
The enclosure is pressure die-cast aluminium that maximises rigidity and lends it a unique form. SONODYNE explains that this is significantly more rigid than conventional MDF cabinets: it reduces cabinet resonance and colouration for tighter bass, greater clarity and improved overall accuracy, while the non-parallel edges minimise standing wave build-up.
CURV cone woofer and custom waveguide
The 4.5 inch CURV cone woofer produces impressive bass and transient response. The silk dome tweeter is nested in a custom waveguide to produce on and off axis linearity and a wide, detailed soundstage.
Bi-amplifier and room compensation
A 25 W + 25 W bi-amplifier drives the transducers optimally; each driver has its own dedicated amplifier. Two rear switches are labelled bass roll-off 100 Hz / bass tilt -2 dB and bass tilt -4 dB / treble tilt -2 dB; the front level control ranges from mute to +6 dB with a centre detent at 0 dB.
Connections and mounting
The SRP 400 accepts XLR and TRS balanced inputs; -2 dBu at the input gives 90 dB SPL at 1 m. Tapped inserts at the rear and bottom (2 x M6 on the rear, 4 x M6 on the base) and the SRP WB1 wall mount bracket allow for various mounting options.
In the box
- SRP 400 active reference monitor
SONODYNE SRP 400: frequently asked questions
Is the SRP 400 active or passive?
Active. All SRP monitors have built-in bi-amplification: the SRP 400 drives its woofer with 25 W and its tweeter with 25 W (before clipping).
What is the SRP 400 designed for?
SONODYNE describes it as an excellent reference to understand how mixes translate to smaller speakers.
Can I adjust the SRP 400 to my room?
Yes. Room compensation HF and LF tilts are available at the rear, together with a 100 Hz bass roll-off (6 dB/octave).
Do I need a separate amplifier?
No. Every SRP monitor has built-in amplification: connect your audio interface, mixer or monitor controller using balanced cables.
Who is the SRP 400 designed for?
SONODYNE designs the SRP range for music producers, recording and mastering engineers, broadcast professionals, content creators, home studios and audio training centres.
Where can I buy the SONODYNE SRP 400 in India?
The SONODYNE SRP 400 is available from Shivansh Electronics, Kolkata, West Bengal, India, with delivery across India.
Workflow 1: Mixing room near field monitoring
Engineers who mix on near field monitors.
Connections
| Connect | To |
|---|---|
| Audio interface or console monitor outputs (balanced) | XLR INPUT of each SRP 400 |
Setup
- Place a pair of SRP 400 monitors to form a triangle with the listening position.
- Connect each monitor's input to a balanced monitor output.
- Set the gain control on both monitors to the same position.
- Use the rear tilt switches to suit the room.
Tip: Use the SRP 400 to check how a mix translates to smaller speakers.
Workflow 2: Music production studio
Music producers working on full mixes.
Connections
| Connect | To |
|---|---|
| Audio interface outputs (balanced) | XLR or TRS input |
Setup
- Connect the audio interface's balanced outputs to the monitors.
- Set the gain controls.
- Adjust the bass and treble tilts for the room and placement.
Tip: The 4.5 inch CURV cone woofer reaches 75 Hz (±2 dB).
Workflow 3: Home studio
Home studio enthusiasts and content creators.
Connections
| Connect | To |
|---|---|
| USB audio interface or mixer outputs | Balanced input of each monitor |
Setup
- Connect the monitors through an external USB audio interface or mixer.
- Use balanced XLR or TRS cables.
- Set the gain control and the tilt switches.
Tip: SONODYNE recommends an external interface or mixer for balanced outputs, better signal quality and lower noise.
Workflow 4: Broadcast and content production
Broadcast professionals and content creators.
Connections
| Connect | To |
|---|---|
| Console or interface monitor output (balanced) | XLR INPUT |
Setup
- Connect the balanced monitor output to the XLR inputs.
- Set the level with the gain control.
- Use the tilt switches where needed.
Tip: Fully balanced inputs with a CMRR above 65 dB.
Workflow 5: Wall-mounted monitoring
Rooms where the monitors are mounted on the wall or a bracket.
Connections
| Connect | To |
|---|---|
| SRP WB1 wall mount bracket | M6 inserts on the rear |
Setup
- Fit the SRP WB1 wall mount bracket to the M6 inserts.
- Position the monitor in the horizontal and vertical planes.
- Route the cables through the recessed inlet.
Tip: Tapped inserts at the rear and bottom allow for various mounting options.
Workflow 6: Audio training centre
Educational institutions and audio training centres.
Connections
| Connect | To |
|---|---|
| Mixer or interface outputs (balanced) | Balanced input of each monitor |
Setup
- Connect the mixer or interface to the monitor inputs.
- Set the gain controls.
- Demonstrate the effect of the tilt switches on the room response.
Tip: Protection against over current, overheat, RFI and switch on/off transients.